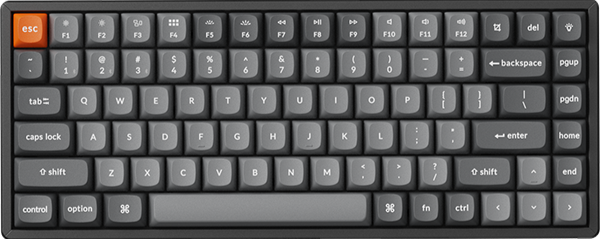
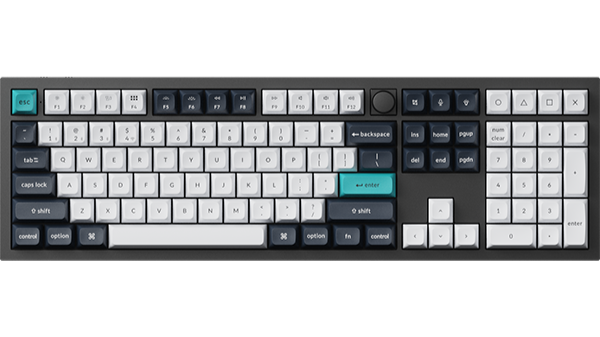
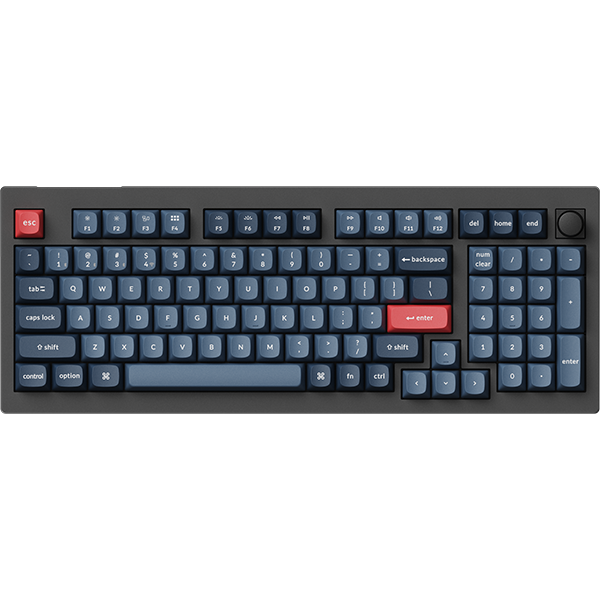
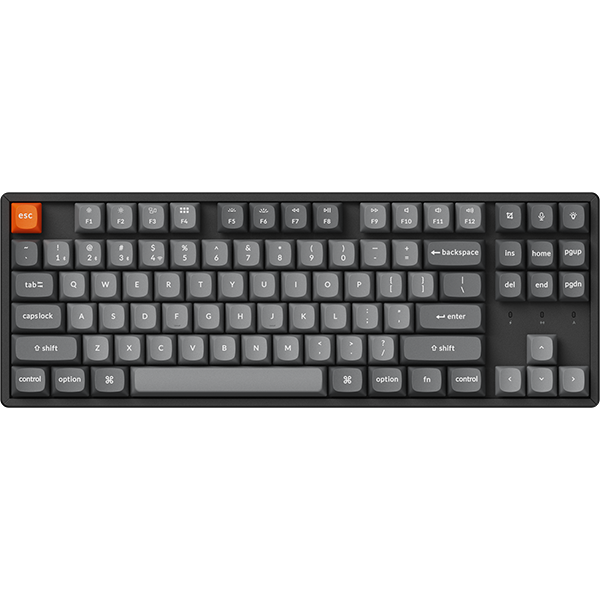
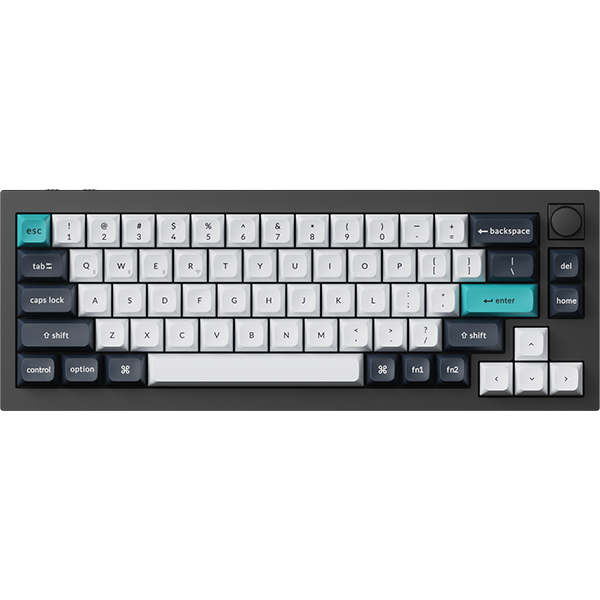
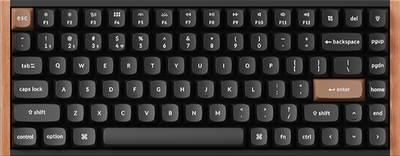
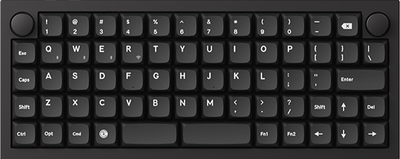
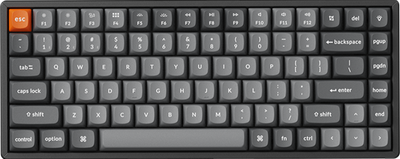
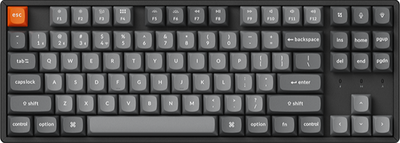
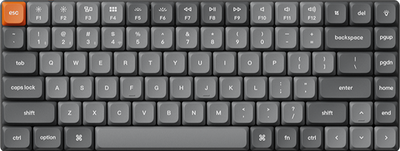
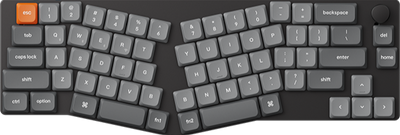
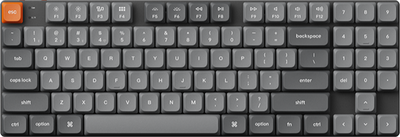
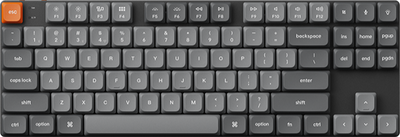
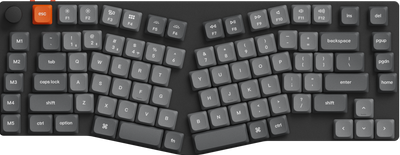
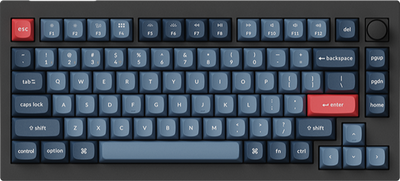
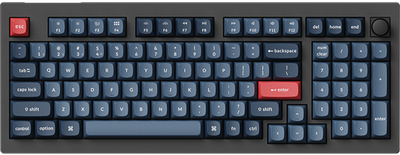
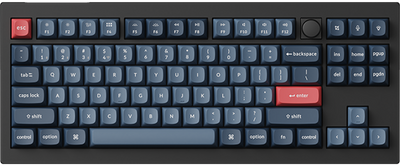
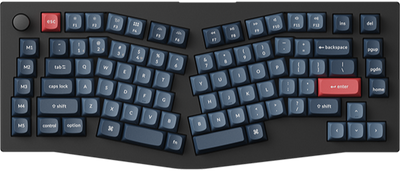
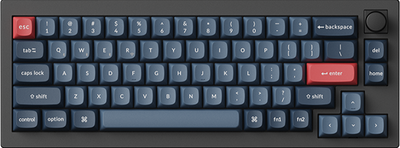
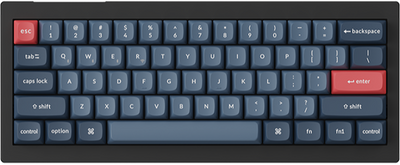
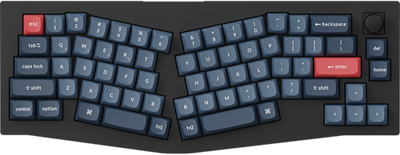
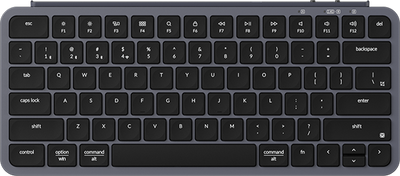
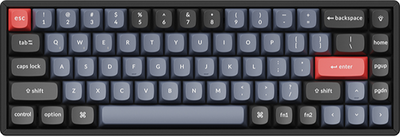
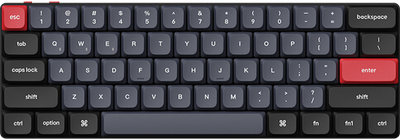
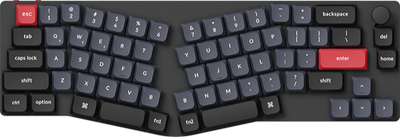
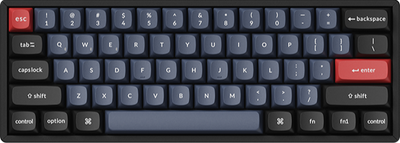
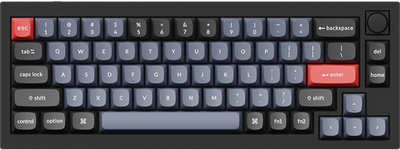
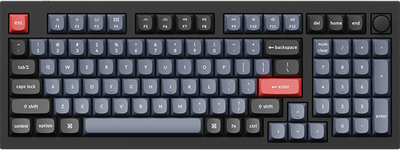
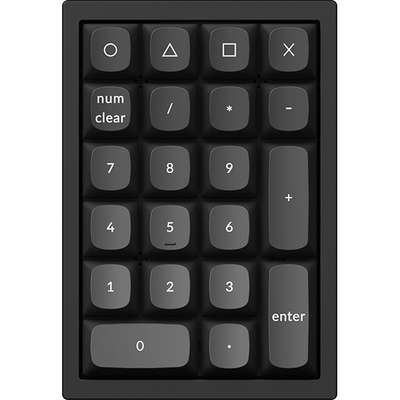
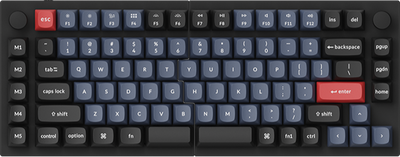
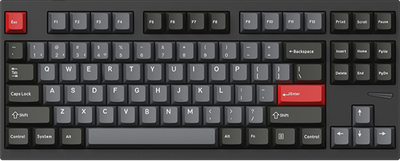
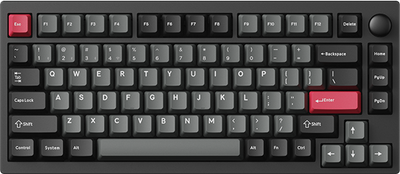
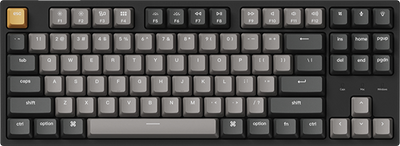
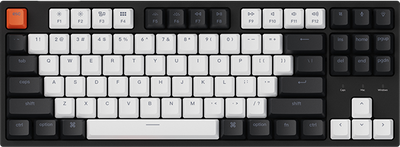
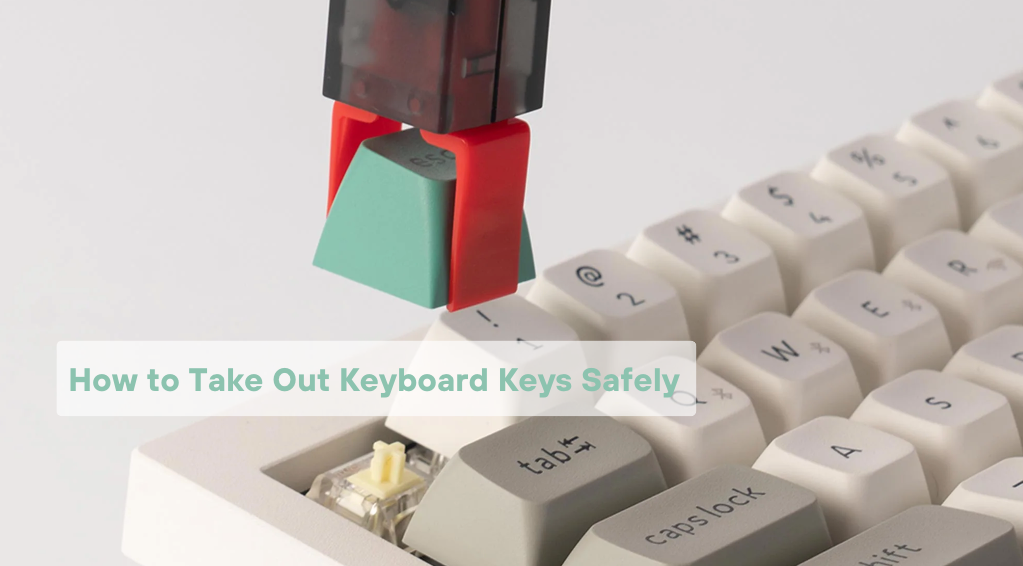
Knowing how to take out keyboard keys is essential for maintaining, cleaning, or repairing your keyboard effectively. Over time, dust, debris, or spills can affect performance, and removing the keys allows for thorough cleaning or replacements.
Whether you’re a gamer, typist, or casual user, understanding the correct method ensures you can maintain your keyboard without causing damage.
This guide provides clear, step-by-step instructions, making it easy for both beginners and experienced users to safely remove keys. Keep your mechanical keyboard in top condition and enhance its lifespan with these simple yet effective tips. Let’s get started!
Tools You’ll Need to Remove Keyboard Keys
Removing keyboard keys requires the right tools to ensure a smooth process. Here are the best tools to help you remove keys without causing damage:
1. Keycap Puller
For mechanical keyboards, a keycap puller is highly recommended. This tool helps you easily remove keys by gripping the sides of the keycaps and pulling them off without scratching the keyboard surface. You can purchase keycap pullers online or from electronic stores.
If you don’t have a keycap puller, you can create a makeshift one by bending a paperclip into a U-shape. Carefully hook the ends under the keycap and gently pull upward to remove the key without causing damage.

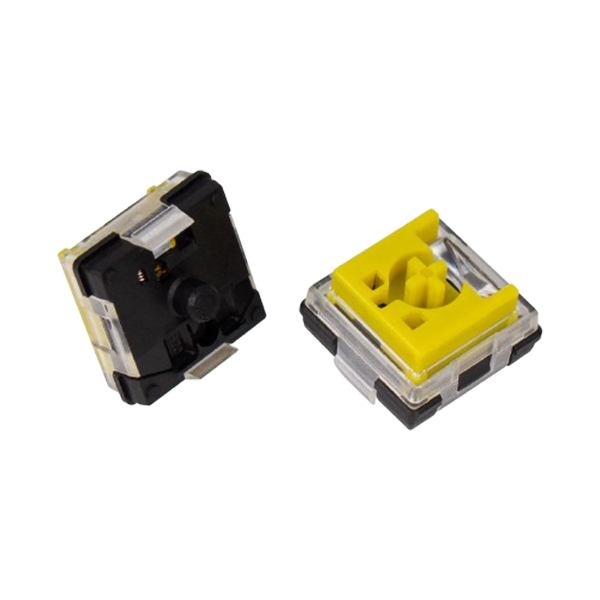
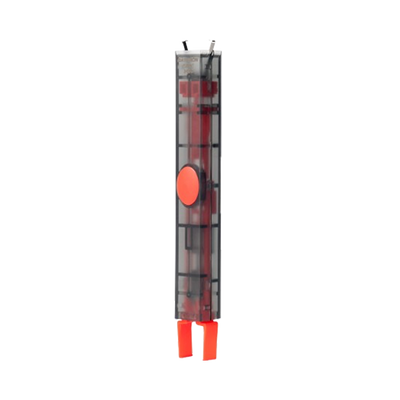
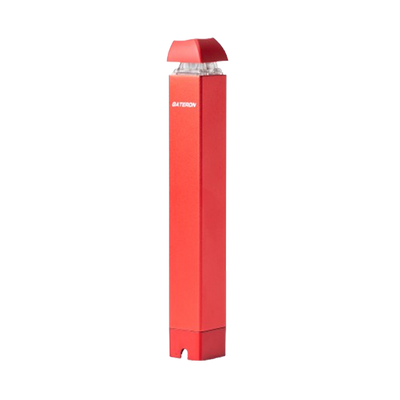
The photo above is the Gateron Switch and Keycap Puller
For laptop keyboards, use a small flathead screwdriver. Insert it gently under the keycap and lift carefully to avoid damaging the hinge clips.
For removing dust or debris, use a soft cloth or compressed air. If you need a deep clean, consider using isopropyl alcohol to clean the keyboard surface after removing keys.
These tools will help ensure a clean and effective key removal process.
How to Remove Keys from a Mechanical Keyboard

Step-by-step guide:
-
Power off and Unplug
Before starting, ensure your keyboard is powered off and unplugged from your computer to prevent any damage or accidental inputs.
-
Use a Keycap Puller
Use a keycap puller to gently lift each keycap. Insert the puller around the keycap, then pull upwards carefully. This method is safe and reduces the risk of damaging the keys. For visual guidance, watch how to use Gateron switch Puller.
-
Cleaning Beneath the Keys
With the keycaps off, clean the area underneath using compressed air or a soft cloth. This helps remove dust and debris that can affect performance.
-
Replacing the Keycap
To put the keycap back, align it with the switch and press down firmly until it clicks into place. Ensure it’s secure and not wobbling.
-
Caution for Larger Keys
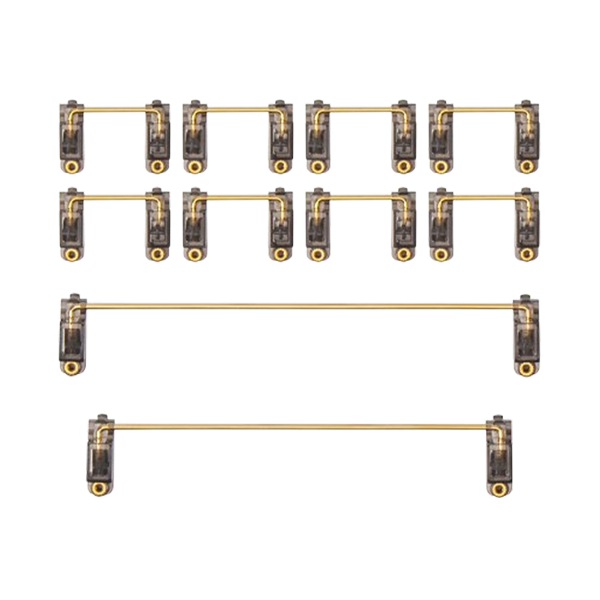
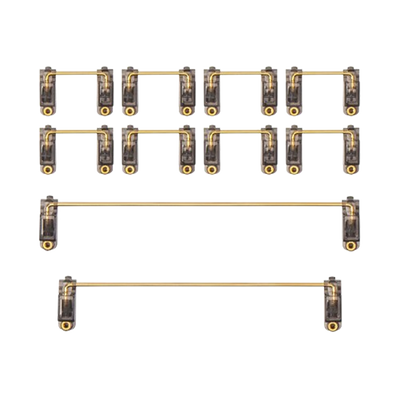
Larger keys, like the spacebar and shift, might have stabilizers. Be extra cautious as these require careful handling to avoid damaging them. Reattach them by ensuring the stabilizers are correctly aligned before pressing them back onto the switch.
By following these steps, you’ll successfully remove and replace the keys on your mechanical keyboard.
How to Clean Under the Keyboard Keys
Maintaining your keyboard not only involves removing visible dirt but also addressing hidden grime. Here are 2 methods on how to clean under the keyboard keys: use tools like compressed air for quick debris removal or apply careful cleaning techniques to maintain longevity and ensure thorough cleanliness.
1. Using Compressed Air for Dust Removal
Compressed air is an effective tool for removing dust and debris from under the keys. Begin by holding the can of compressed air at an angle to target the spaces between keys. Use short bursts to dislodge particles. Make sure to keep the can upright to avoid moisture discharge, which can damage the keyboard.
Regular use of compressed air prevents the accumulation of dust and keeps your keyboard functioning smoothly.
2. Deep Cleaning Keyboard Switches
For more thorough cleaning, focusing on the keyboard switches is essential. After removing the keys, wipe down the surface around the switches with a cloth lightly dampened with isopropyl alcohol. This targets sticky and stubborn grime without risking moisture damage. Avoid excessive liquid to protect the electronic components.
Consider using small tools like cotton swabs for hard-to-reach areas. This approach helps maintain the responsiveness of your keyboard switches.
Remember 📌: Keeping your keyboard clean improves both its performance and your typing experience.
How to Replace or Reattach Keys?
Reattaching Keys:
- Align the keycap with the switch or scissor mechanism on your keyboard.
- Position the keycap over the small hooks or mounts.
- Press gently until you hear a snap or click, ensuring it’s locked in place for smooth functionality.
Replacing Keycaps:
- Broken Keys: Replace worn-out or broken keycaps to avoid typing issues or potential keyboard damage.
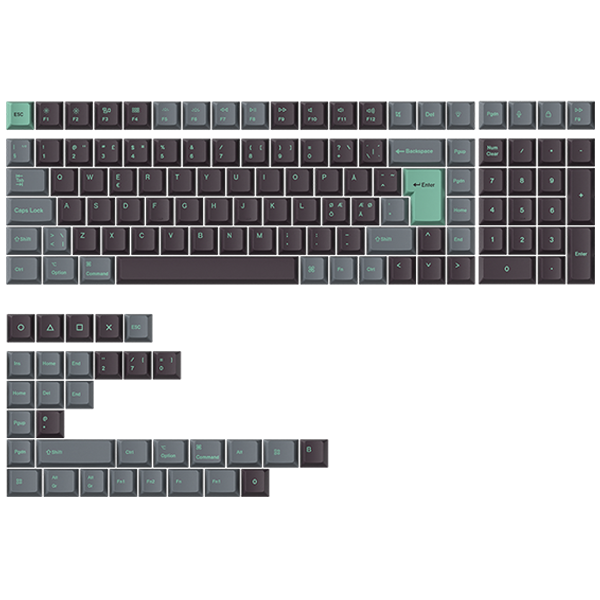
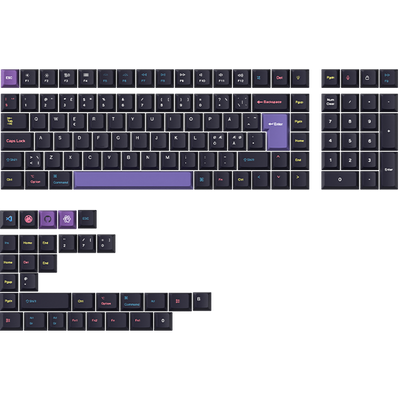
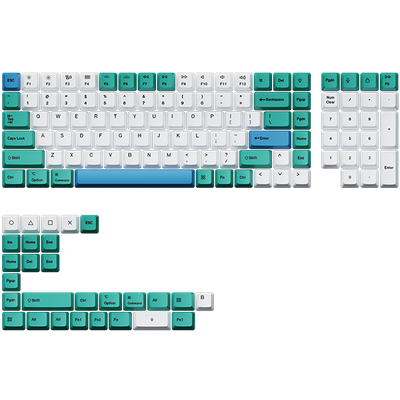
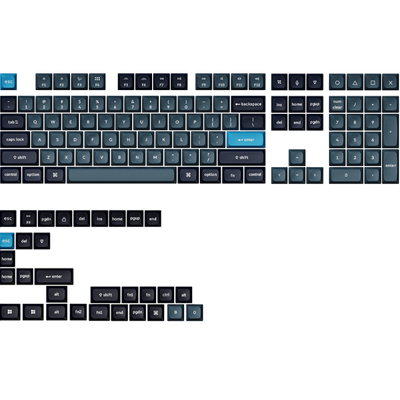
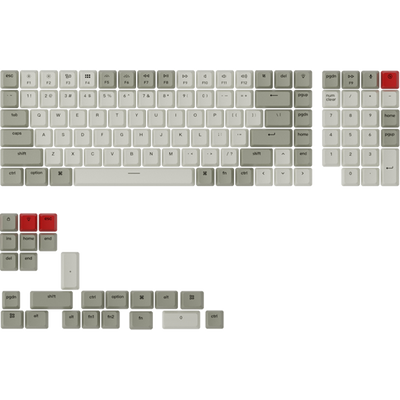
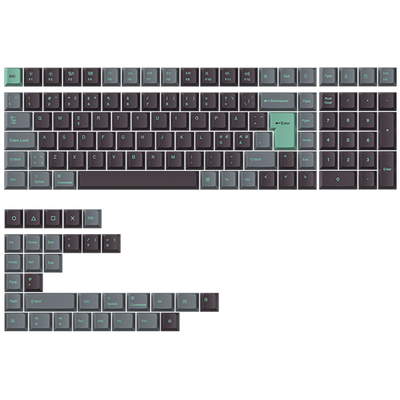
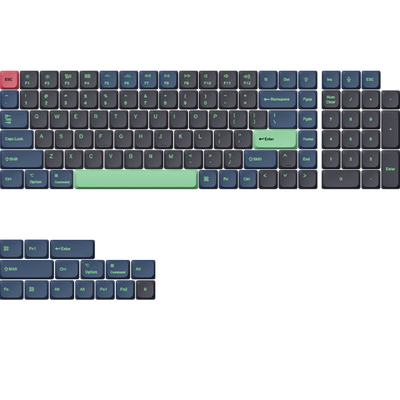
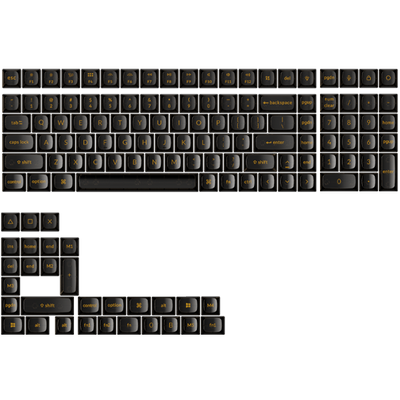
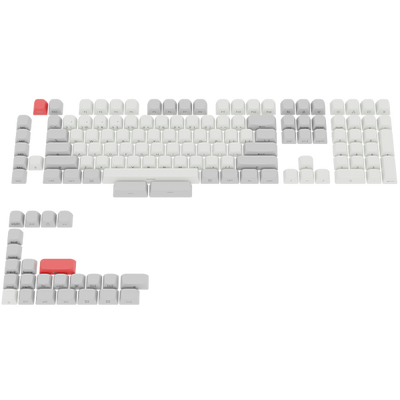
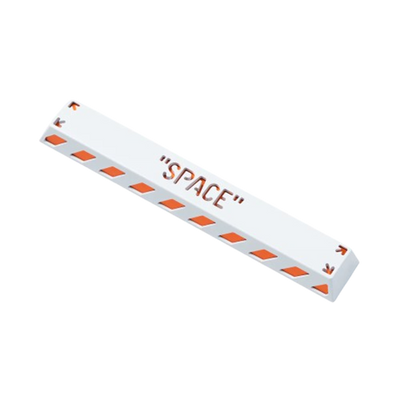
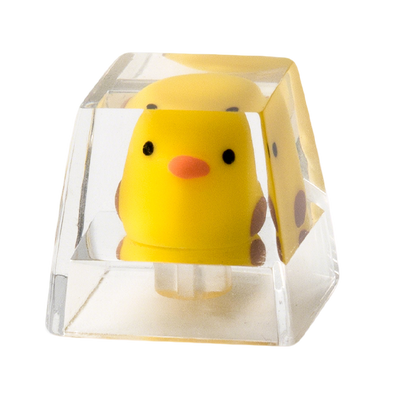
- Keyboard Customizations: Personalize your keyboard with custom keycap sets available in various colors, materials, and profiles. Customizations can enhance both the look and functionality of your keyboard.
Always ensure your replacement keycaps are compatible with your keyboard model!
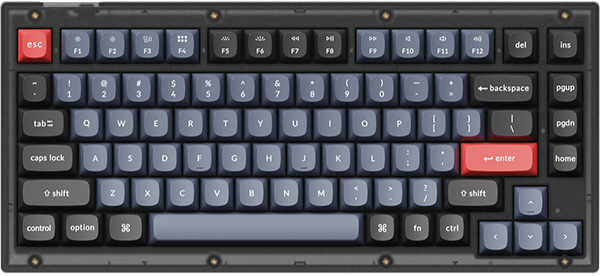
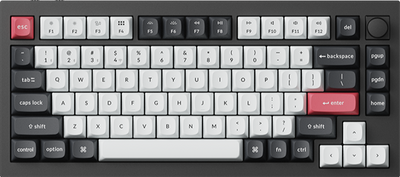
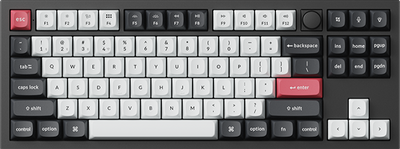
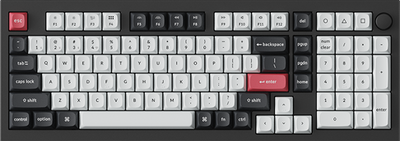
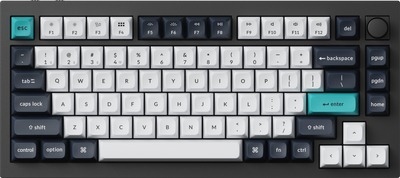
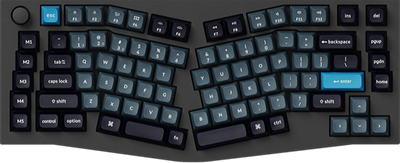
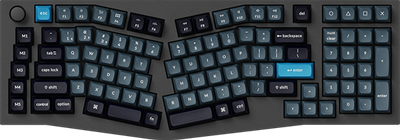
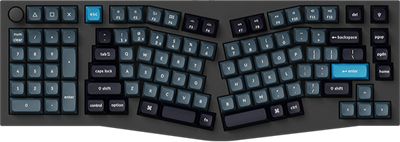
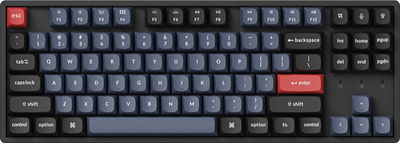
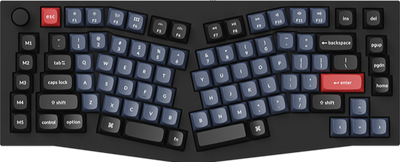
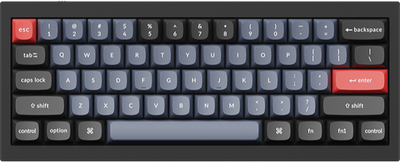
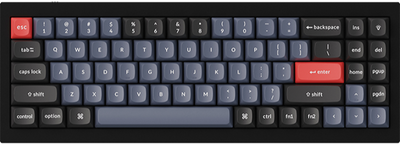
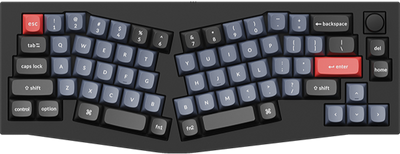
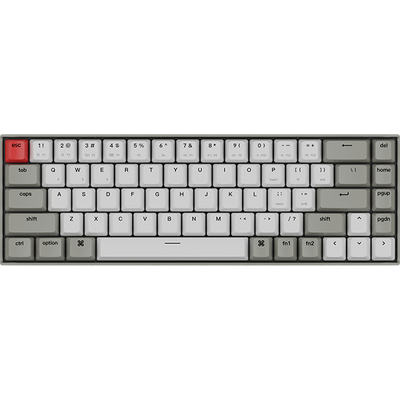
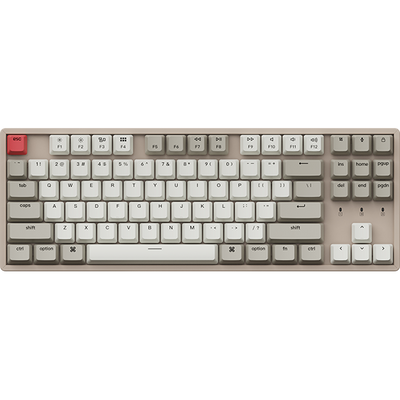
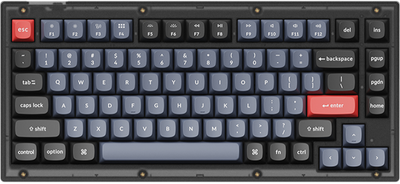
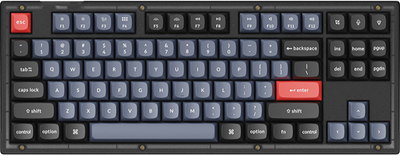
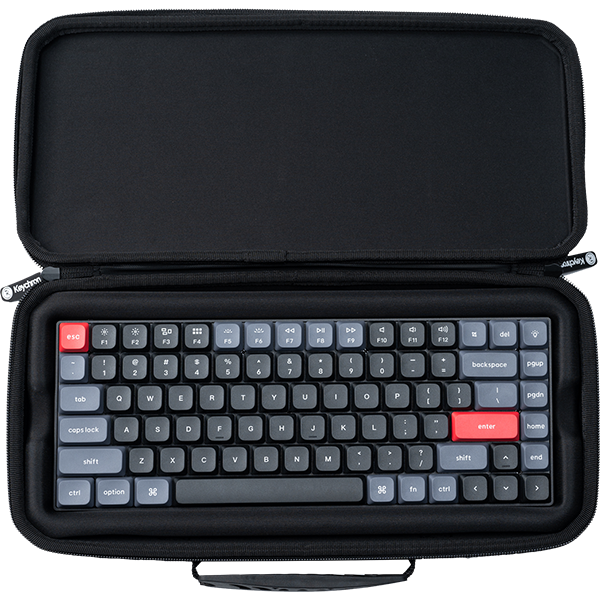
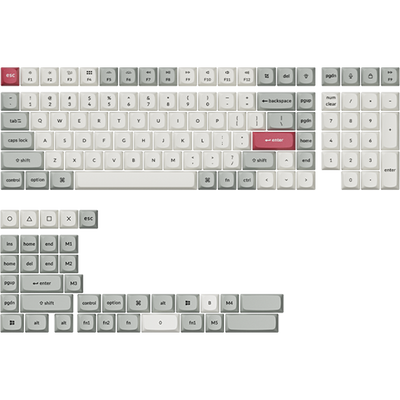
Want to customize your Keychron Q1 keyboard? 🎨✨ Check out our Keychron Q1/Q1 Pro/Q1 HE Keycaps Collection! With a variety of stunning colors, premium materials, and unique profiles, you can transform your keyboard into a true reflection of your style.
Tips for Safely Removing Keyboard Keys
These tips will help ensure your keyboard stays safe and functional during key removal.
- Be Gentle: Avoid forcing keys off, as this can cause damage.
- Use the Right Tools:
- For mechanical keyboards, use a keycap puller to safely remove keys.
- For laptops or membrane keyboards, a small flat tool like a spudger works well.
- Prepare Your Workspace:
- Work in a clean, well-lit area to avoid losing small parts.
- Place a white sheet or towel underneath to catch debris or falling pieces.
- Take a Picture First: Photograph your keyboard layout to easily reassemble the keys in the correct order later.
- Handle Delicate Keyboards with Care:
- For laptops, use tools specific to delicate keyboards.
- Remove keys slowly to avoid snapping hinges or connectors.
- Clean Under the Keys:
- Use a small brush or compressed air to clear out dust and debris.
- Wipe the keycaps gently with a slightly damp cloth to refresh them.
Common Mistakes to Avoid When Removing Keys
Pulling Too Hard: One common mistake is pulling too hard on the keys. This can damage the switches or the scissor mechanisms beneath the keys. Gently wiggle the keycap from side to side before lifting it off.
Using Sharp Objects: Avoid using sharp objects like knives or pens to pry off keys. These tools can easily scratch the surface of the keyboard. Instead, use a plastic tool or a store-bought keycap puller.
Forgetting to Unplug or Power Off: Always unplug your keyboard or power off your laptop before removing any keys. This reduces the risk of electrical shock and prevents accidental key presses that could disrupt your computer’s functions. Make sure the device is completely turned off before you begin.
Being cautious with these steps can help maintain your keyboard's functionality and appearance.
Final Thoughts on How To Take Out Keyboard Keys
Knowing how to take out keyboard keys safely requires patience, the right tools, and attention to detail. By following the outlined steps, you can prevent damage while keeping your keyboard clean and functional. Whether you’re replacing broken keys or customizing your setup, proper care ensures long-lasting performance and optimal usability.
Looking for a keyboard designed with easy customization and seamless key replacements in mind? Explore our Keychron keyboards—crafted for flexibility, durability, and style. With a range of models and premium keycap options, upgrading your typing experience has never been easier. Check out the collection today and unlock endless customization possibilities!
Frequently Asked Questions
Taking off keyboard keys can improve cleaning and repair. Whether you're dealing with a mechanical, membrane, or laptop keyboard, understanding the right techniques can prevent damage and make the process easier.
Can I remove keys from all types of keyboards?
Yes, you can remove keys from most keyboard types, including mechanical and membrane keyboards. However, check whether your keyboard has any special design features that might require specific tools or techniques.
How often should I clean under my keyboard keys?
It's a good idea to clean under your keys every few months, depending on your usage. Regular cleaning can prevent buildup of dust and debris, which helps maintain performance.
What should I do if a key won’t snap back into place?
If a key won’t snap back, check for any damage to the keycap or the switch. Make sure nothing is obstructing it. If the issue persists, you might need a replacement key.
How do you remove a key from a keyboard without a tool?
To remove a key without a tool, gently use a flathead screwdriver or your fingers to pry the key up. Be careful not to apply too much force to avoid damaging the key or the keyboard.
What precautions should be taken when removing keys from a laptop keyboard?
When removing laptop keys, be extra cautious as they are more delicate. Ensure you’re familiar with the hinge mechanism to avoid breaking it. Use light pressure and avoid forcing the keys.


