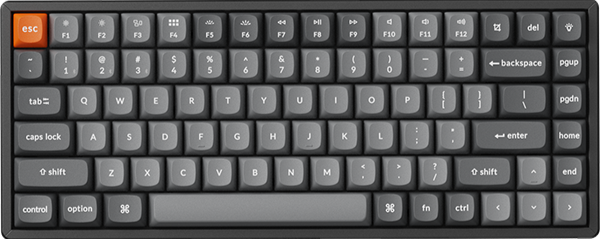
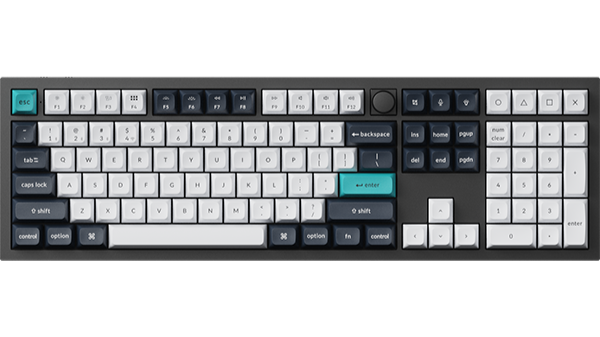
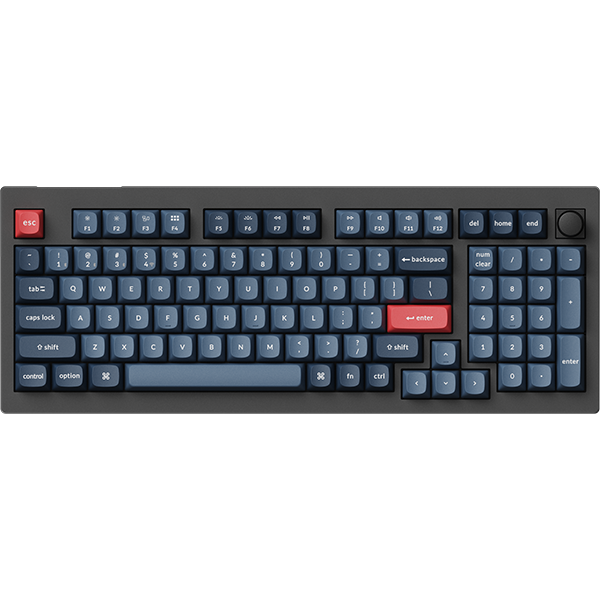
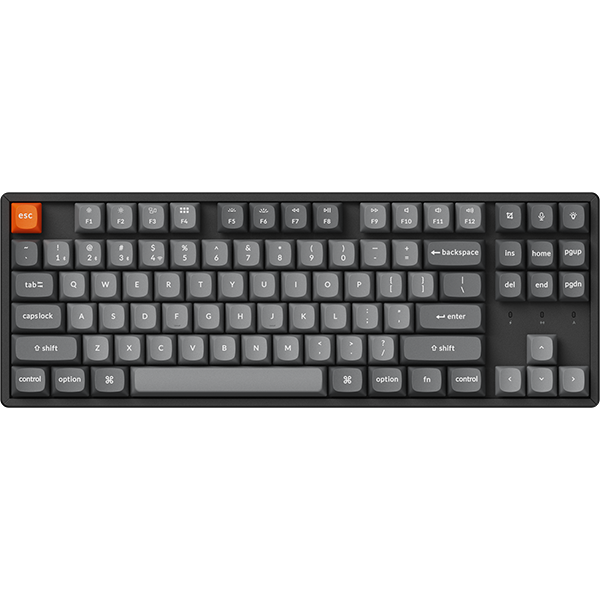
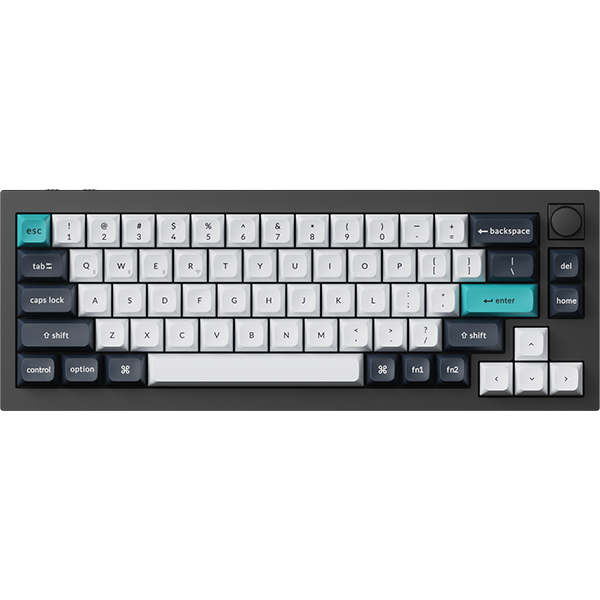
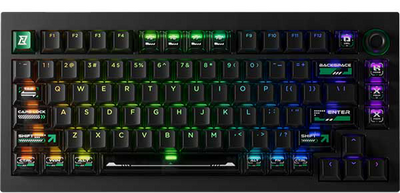
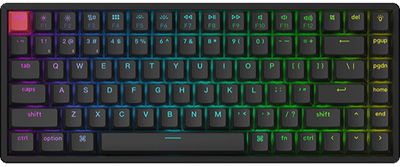
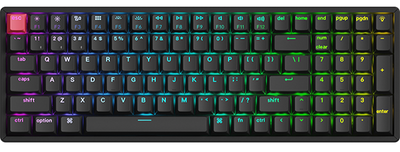
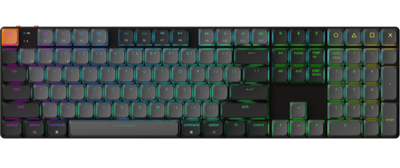
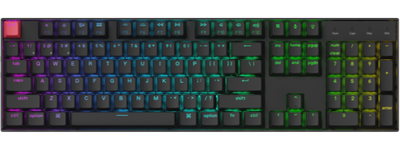
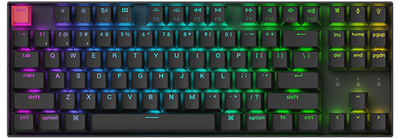
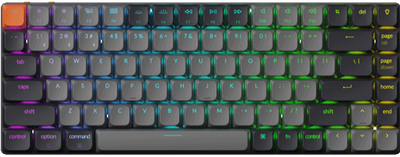
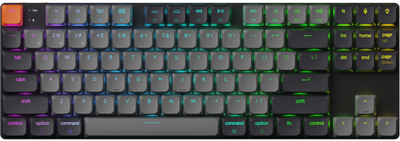
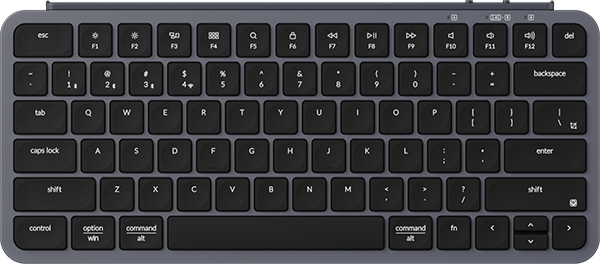
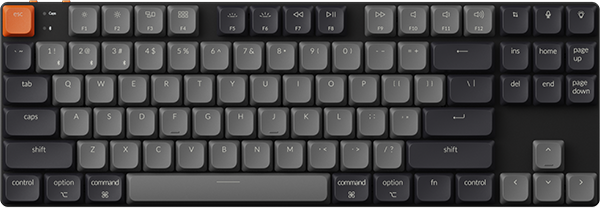
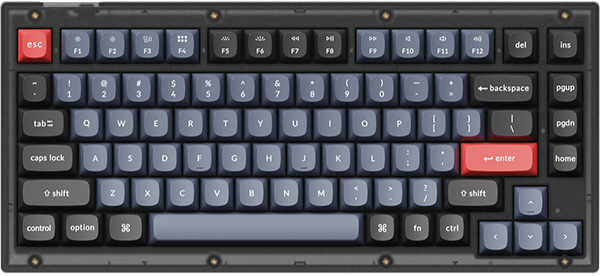
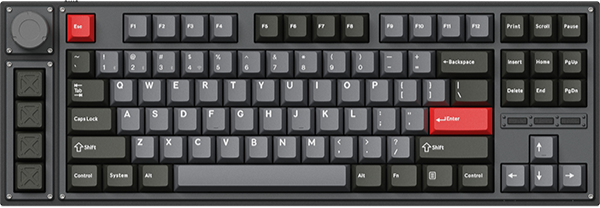
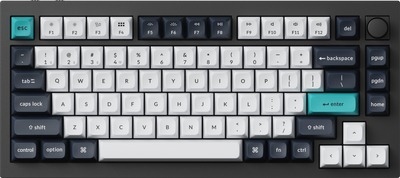
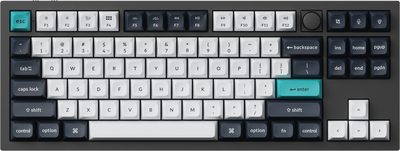
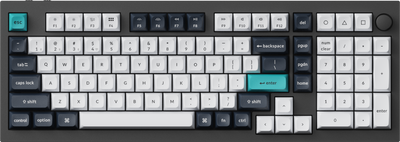
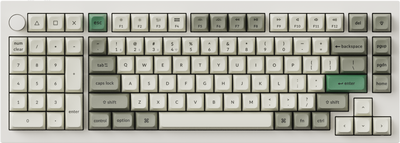
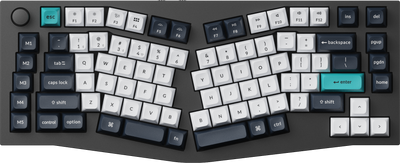
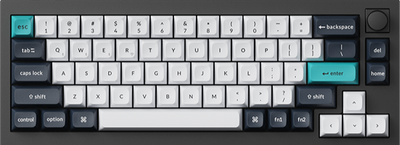
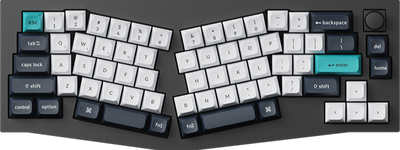
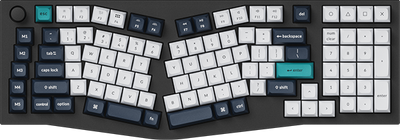
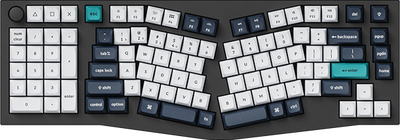
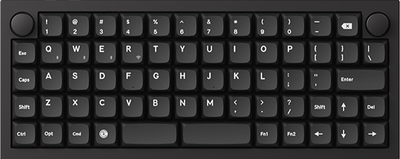
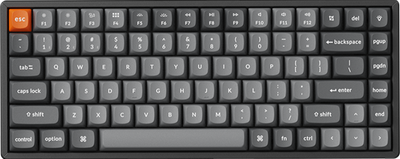
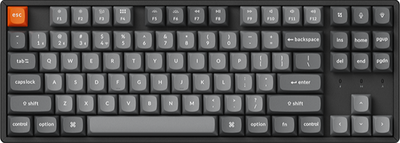
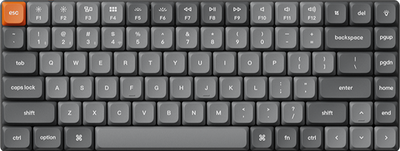
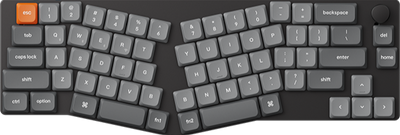
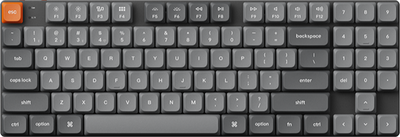
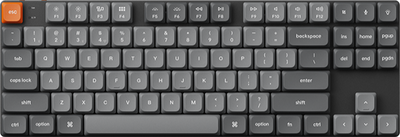
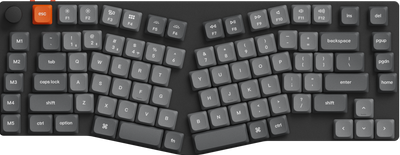
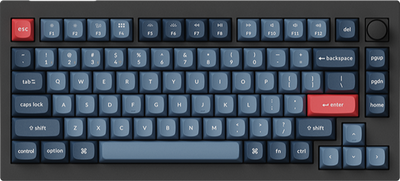
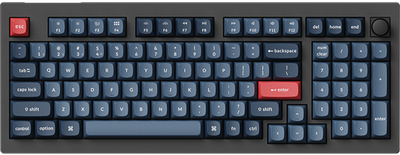
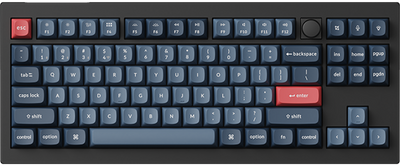
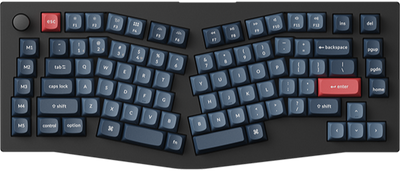
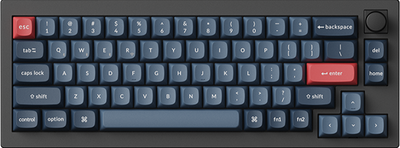
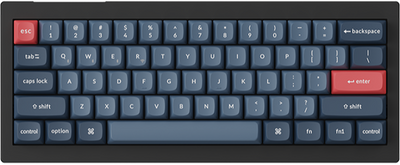
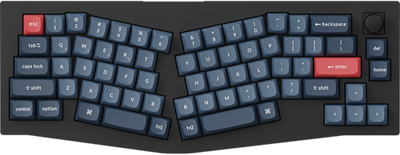
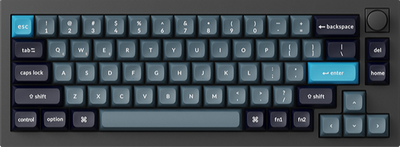
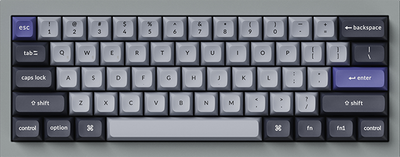
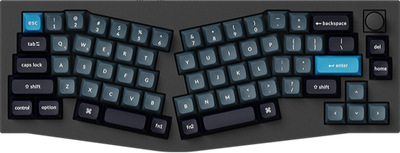
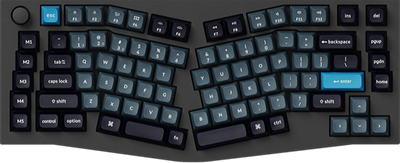
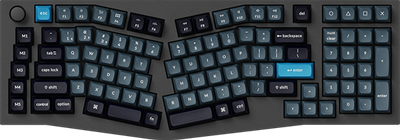
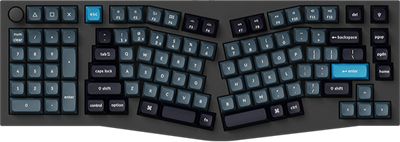
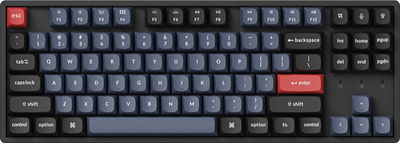
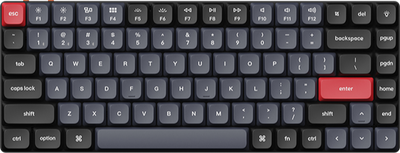
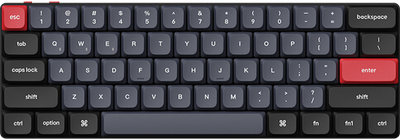
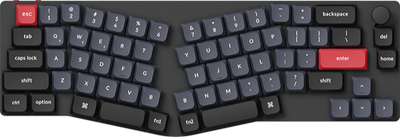
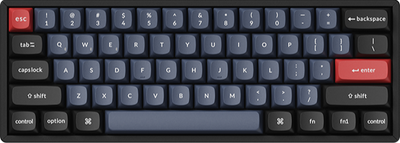
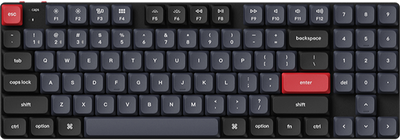
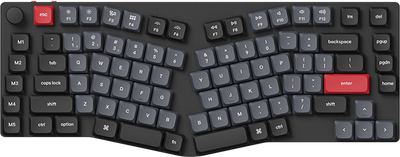
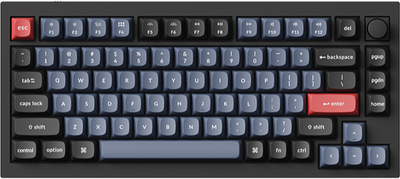
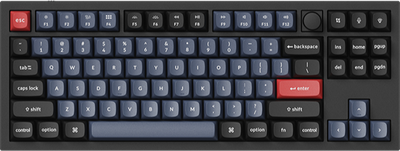
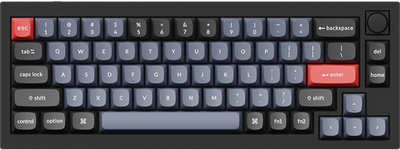
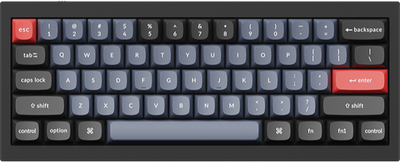
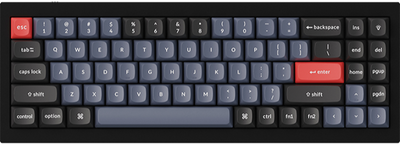
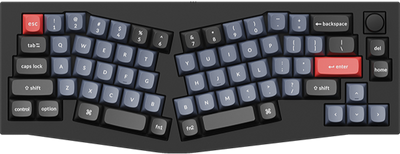
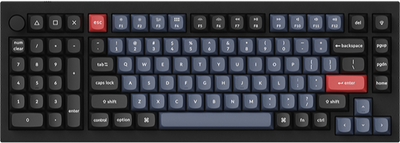
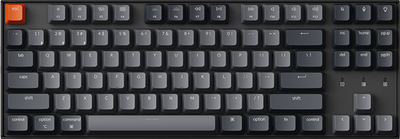
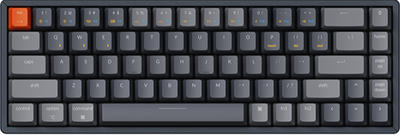
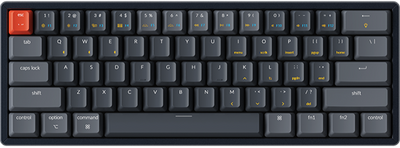
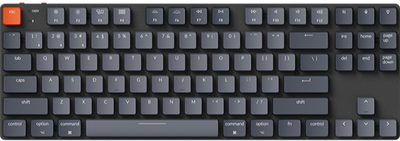
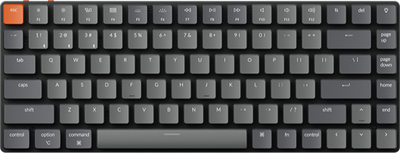
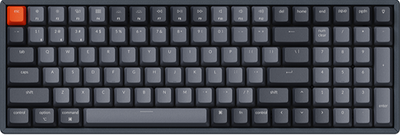
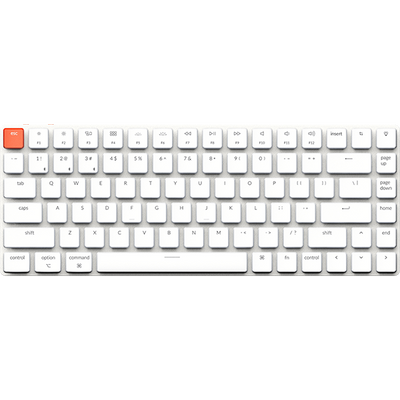
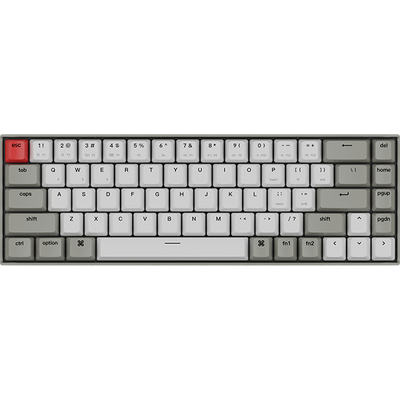
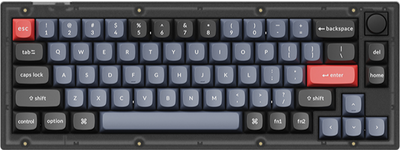
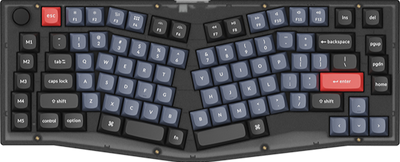
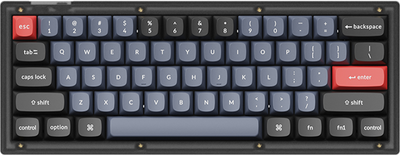
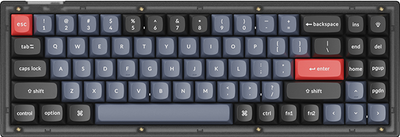
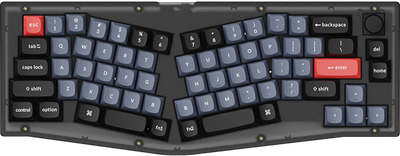
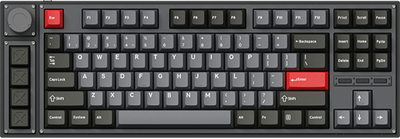
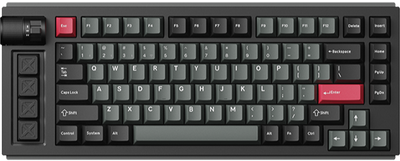
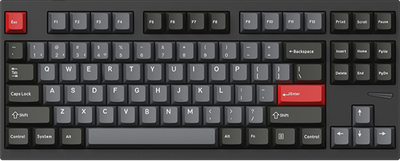
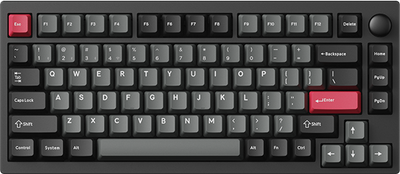
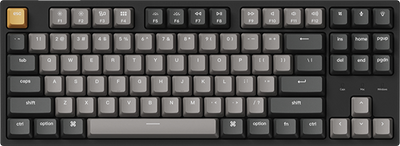
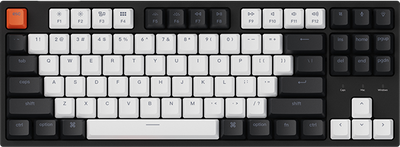
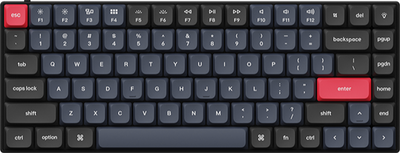
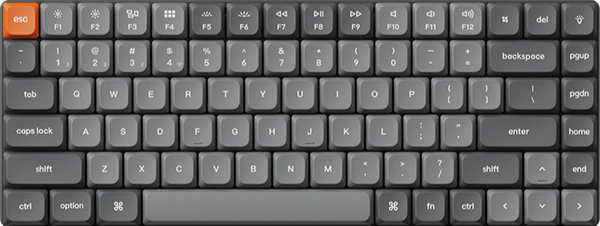
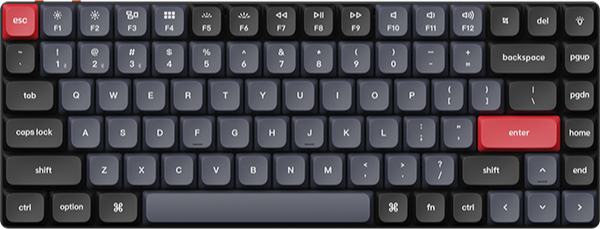
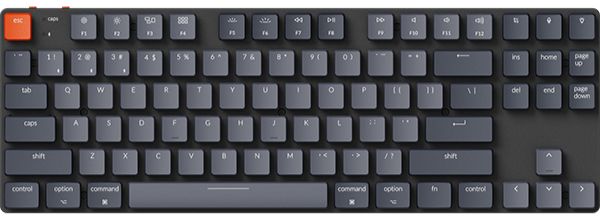
Ready to build a custom keyboard that’s as unique as you are?
With Keychron’s customizable models, you can create the ultimate typing experience tailored to your style and needs. From hot-swappable switches to programmable features and personalized keycaps, every detail can be fine-tuned to match your preferences.
This guide will take you step by step through building your uniquely customized Keychron keyboard. You don’t need to be a pro—whether you’re just getting started or looking to upgrade your setup, this guide is for you. Let’s dive into the world of custom keyboards and help you bring your vision to life!
Why Build a Custom Keyboard?
Getting into building custom keyboards opens up a world where you can dial in your typing experience to be exactly how you want it. You get to pick every piece—from the switches under each key to the overall layout—making sure it all fits your personal vibe and workflow.
Custom keyboards go beyond just a cool look; they’re built to perform and last. High-quality materials mean these keyboards not only feel great under your fingers but also stand up to the rigors of daily use, whether you’re into gaming, coding, or just a lot of typing.
Benefits of Custom Keyboards:
- Personalization: Fine-tune every element to reflect your unique style.
- Performance: Choose switches that fit your typing speed and style—quiet and smooth, or with a satisfying click.
- Durability: Made with premium materials that can handle the wear and tear of everyday use.
Building a custom keyboard is an engaging way to combine your tech know-how with a splash of creativity. It’s about getting into the nitty-gritty of what makes a great keyboard tick. Plus, diving into the keyboard community online can skyrocket your skills, as you connect with others who are just as passionate about building and customizing.
Hot-Swappable Keyboards: Customization in a Snap
Hot-swappable keyboards revolutionize keyboard customization by letting you swap key switches without soldering, making it easy to tailor the feel and sound to your preferences. This flexibility is perfect for experimenting and fine-tuning your setup for gaming, coding, or writing.
Hot-Swappable Keyboard Benefits:
- Pull and Snap Switches into Place: Easily insert and remove switches—no soldering or other complicated processes required.
- Easy to Try New Switches: Freely switch between different types to find your preferred typing experience.
- Ideal for All Users: Whether you're a beginner or an expert, the process is straightforward and user-friendly.
Hot-swappable keyboards are gaining popularity for their versatility and ease of use. They provide an excellent entry point into custom keyboards, eliminating the need for specialized tools and simplifying the personalization process.
Mechanical Switches for Hot-Swappable Keyboards:
- Linear: Smooth and consistent keystrokes, ideal for those who prefer a quiet, fast typing experience.
- Tactile: Features a noticeable bump mid-press to indicate actuation, offering tactile feedback.
- Clicky: Produces an audible click sound with each keystroke, loved by typists who enjoy feedback.
Changing switches is a breeze—all you need is a switch puller. Just carefully pull each switch straight up to remove it, and then insert the new one. This process is quick and user-friendly, making it accessible to everyone.
At Keychron, we lead the way with hot-swappable models, often including additional features like backlighting and wireless connectivity. These keyboards are available in various layouts, including full-size, TKL, and more compact options, catering to different user needs and preferences.
Discover easy customization with our Hot-Swappable Keyboards collection. Swap switches effortlessly to suit your typing style.
Building a Custom Keyboard: Tools and Parts
Understanding the difference between hot-swappable and non-hot-swappable keyboards is key to knowing what tools you’ll need. Let’s break it down:
Hot-Swappable Keyboards: What’s Needed
Hot-swappable keyboards are perfect for easy customization, letting you swap switches without soldering. Here’s a basic list of what you need:
- Switch Puller: For removing and installing switches quickly and safely.
- Keycap Puller: Helps remove and replace keycaps without damage.
- Optional Screwdriver: Needed only if you plan to open the case for mods like adding foam or stabilizers.
Hot-swappable models are user-friendly and ideal for beginners or those who want to experiment with different switches. Most Keychron keyboards are hot-swappable.
Non-Hot-Swappable Keyboards: What’s Needed
Non-hot-swappable keyboards require soldering to install or replace switches, offering more advanced customization options. You’ll need:
- Soldering Tools: Essential for attaching switches to the PCB.
- Keycap Puller: Useful for safely removing and replacing keycaps.
- Screwdriver: Required for assembling the case and securing components.
These keyboards are great for experienced users who don’t mind soldering and more involved setups, but they’re becoming less popular since they take a lot of time.
Tools Needed for All Models
Regardless of the type of keyboard, some tools are universal for assembly and customization:
- Keycap Puller: Removes keycaps without causing damage (note: All Keychron mechanical keyboards include this tool in the box).
- Screwdriver: Used to secure components and assemble or disassemble the case (note: Keychro Q series and V series includes this tool in the box).
Essential Parts for Your Custom Keyboard
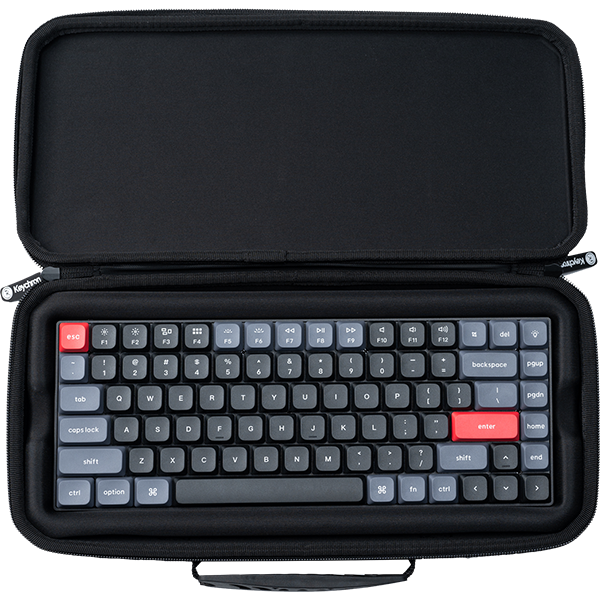
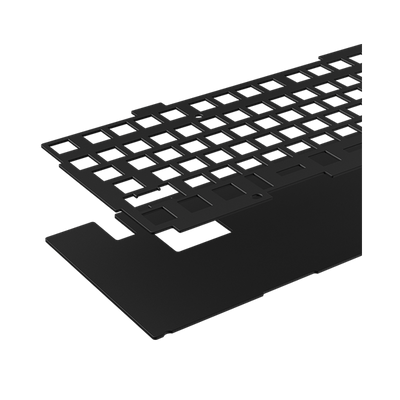
- Keyboard Case: The protective shell that holds all components together.
- PCB (Printed Circuit Board): The main board where switches are mounted and connected electronically.
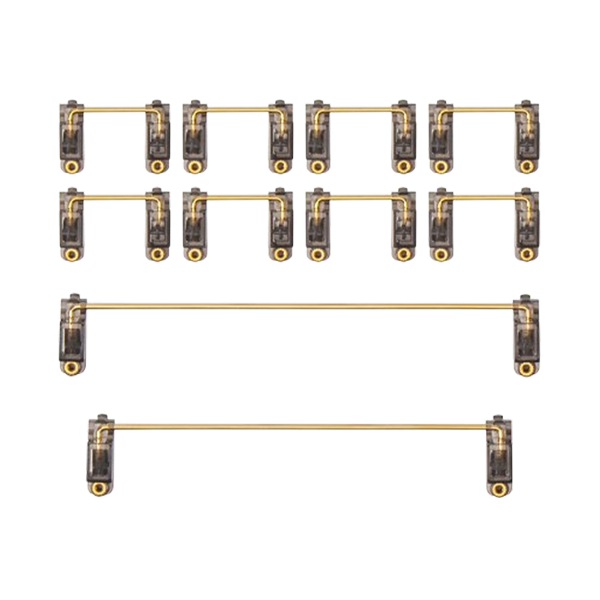
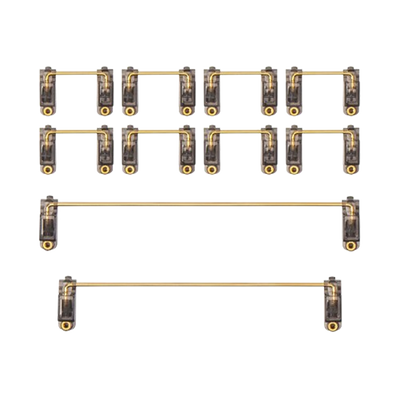
- Stabilizers: Keep larger keys like the space bar steady and wobble-free.
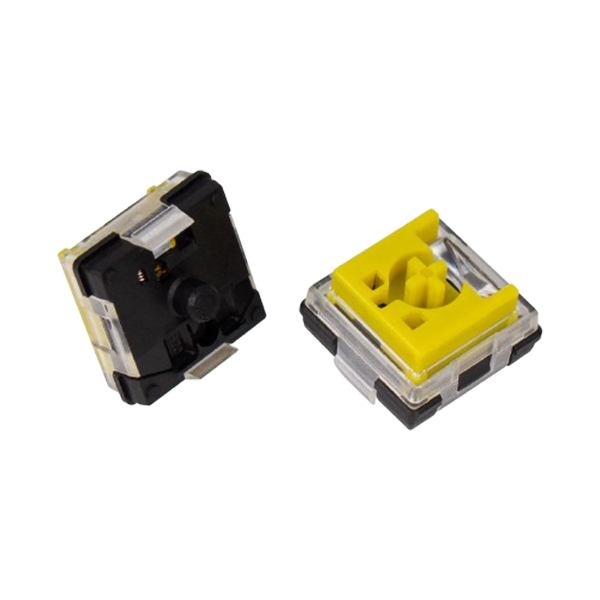
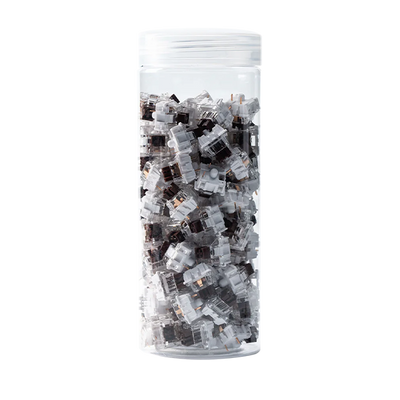
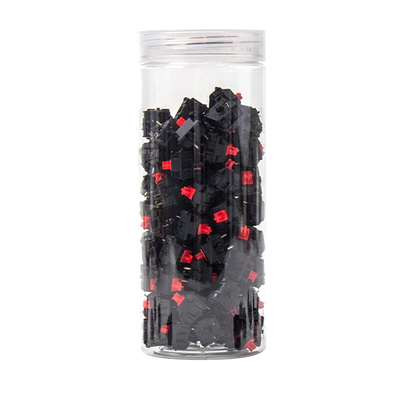
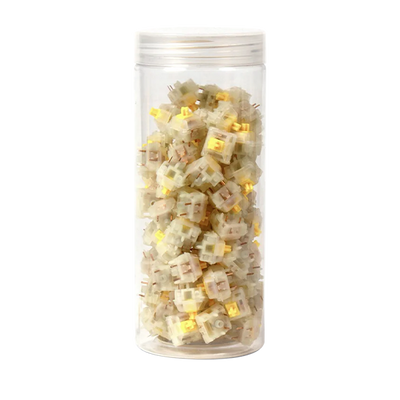
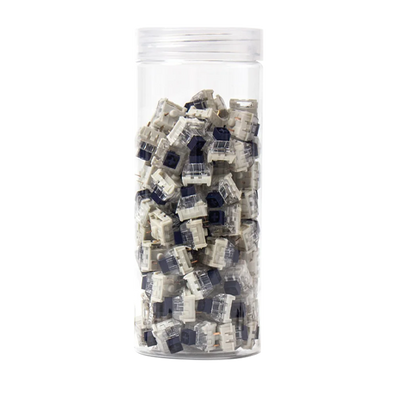
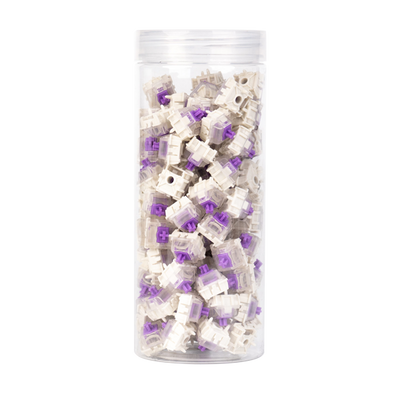
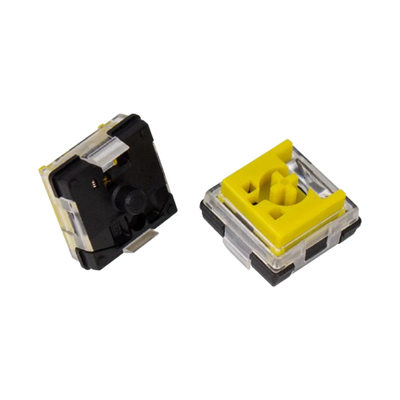
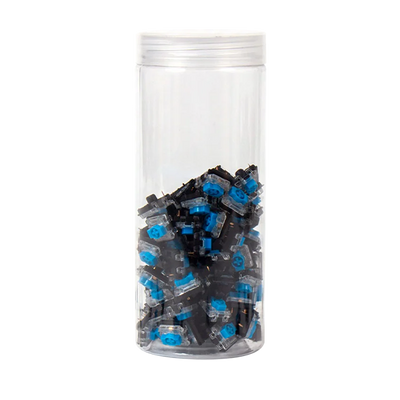
- Switches: Choose tactile, linear, or clicky switches to match your typing style.
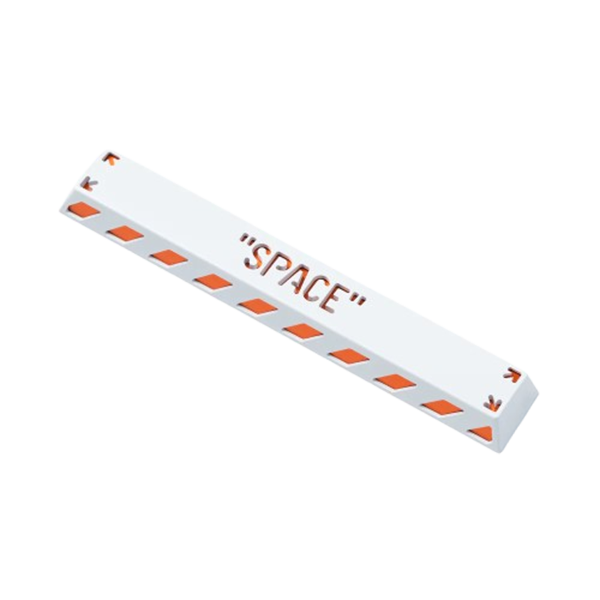
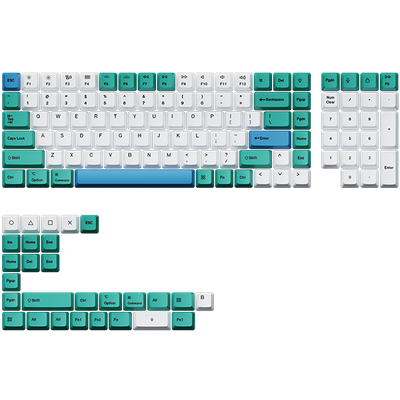
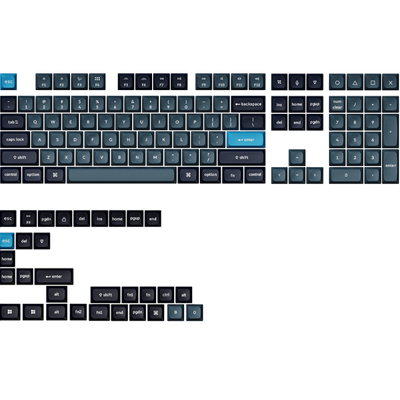
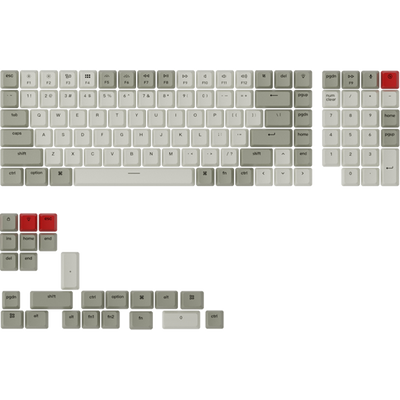
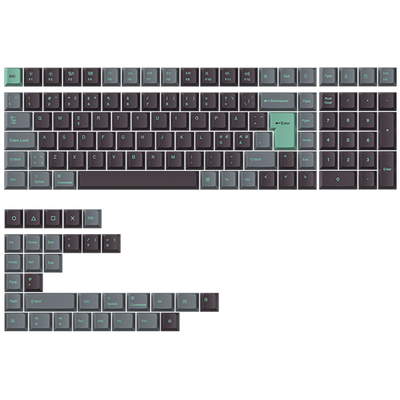
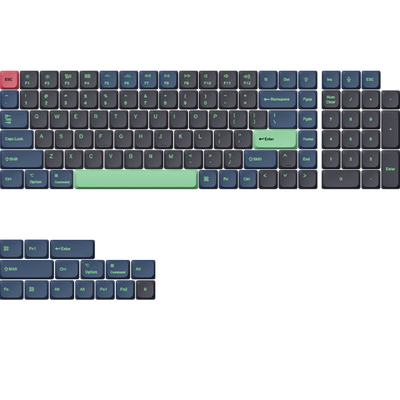
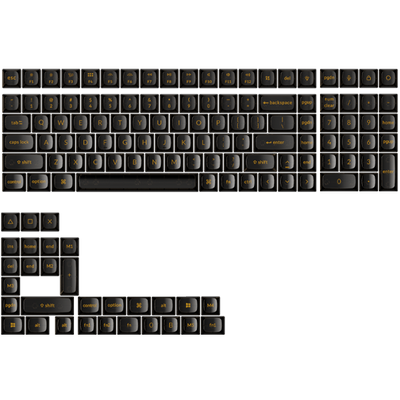
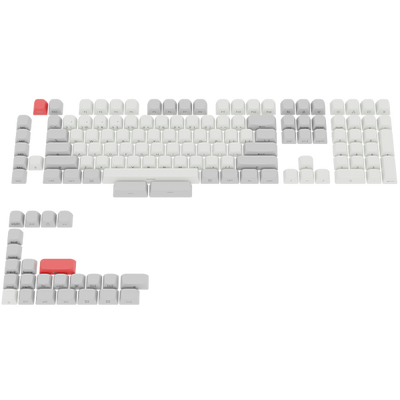
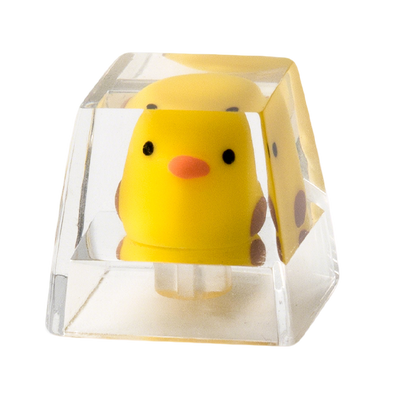
- Keycaps: Available in different materials, shapes, and colors like PBT or ABS for personalization.
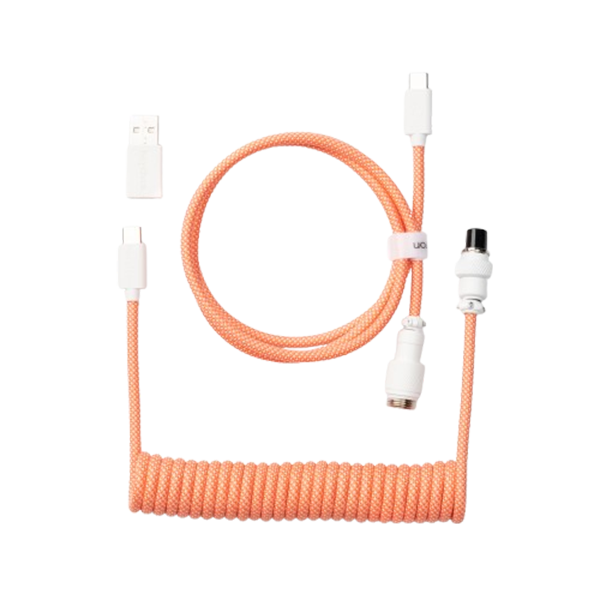
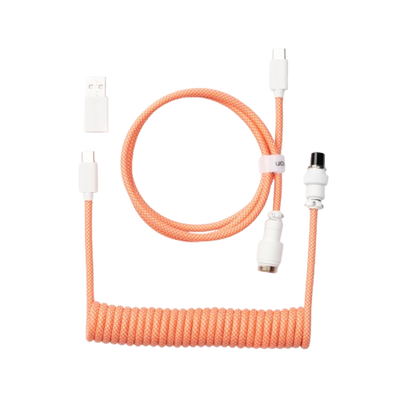
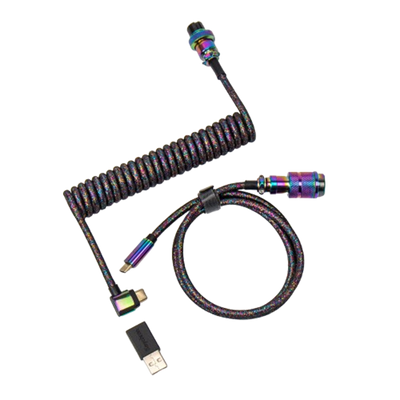
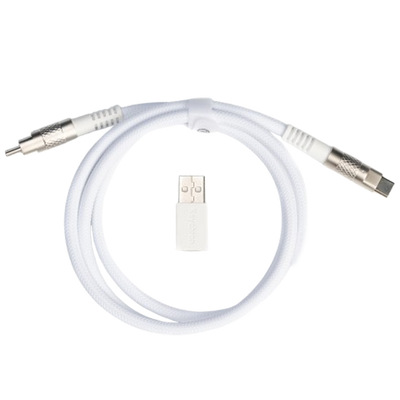
- USB Cable: Connects the keyboard to your computer for power and data transfer.
Stocking up on these tools and parts ensures you’re ready to build or customize your Keychron keyboard, whether you’re working with a hot-swappable model or a traditional mechanical keyboard.
How To Build a Custom Keyboard (Step-by-Step Guide)
Each step in the process of building a custom keyboard—unboxing, customizing switches, installing keycaps, and optional modifications—adds value to the final product.
While all steps enhance your build, some, like programming macros or lubing switches, are optional and can be skipped depending on your needs and preferences. Follow this guide to create a keyboard that feels truly yours.
1 - Unbox and Prepare
Before you start assembling, it’s important to get organized. A clean workspace and all the right tools and parts will set the stage for a seamless building experience.
- Unboxing: Carefully open your Keychron kit and confirm all components are present, including the keyboard frame, PCB, switches, and keycaps.
- Organize Your Workspace: Arrange all parts on a clean, static-free surface to prevent losing small components.
- Gather Tools: Ensure you have essentials like a keycap puller, switch puller, and screwdriver if needed.
- Inspect Components: Check for damage or defects before you begin assembly.
- Review the Manual: Read through the included instructions for guidance and tips.
2 - Customize the Switches
Switches are the heart of your keyboard, determining how it feels and sounds. Customizing them lets you personalize your typing experience.
- Select Switch Type: Decide between linear, tactile, or clicky switches based on your preferences for typing or gaming.
- Install Switches: Insert each switch into the PCB, ensuring the pins are properly aligned and seated securely. Avoid bending the pins during installation.
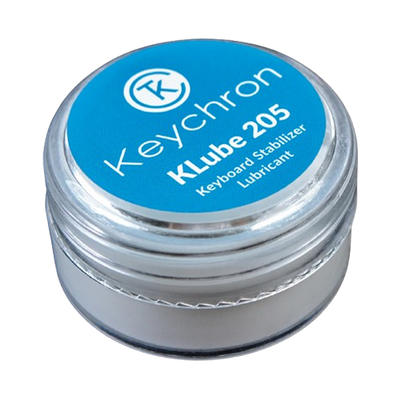
- Optional Lubrication: All new switches available in Keychron now are factory lubed, eliminating the need for separate lubing. However, if you insist in additional lubrication, you may use a small brush and high-quality lubricant like Keychron Klube 105 for best results.
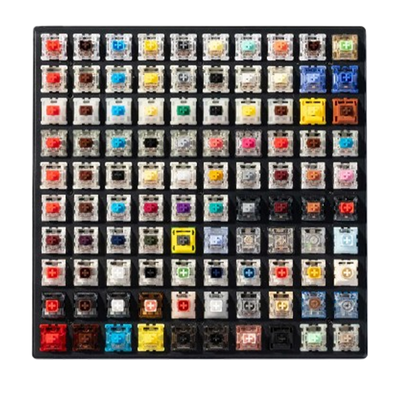
Fine-tune your keyboard’s performance with the perfect switches from our All Switches collection. Choose from tactile, linear, or clicky to match your typing style.
3 - Install Keycaps
Keycaps give your keyboard its personality and can greatly affect comfort. This step lets you make your keyboard look and feel unique.
- Start with Larger Keys: Install stabilizer-dependent keys like the spacebar and shift first to ensure proper fit and smooth operation.
- Secure Keycaps: Press each keycap firmly onto the switch stem, aligning them evenly for consistent height and spacing.
- Experiment with Profiles: Try different keycap profiles to find the shape and height that feels best for you.
- Use a Keycap Puller: This tool is essential for making adjustments without damaging keycaps or switches.
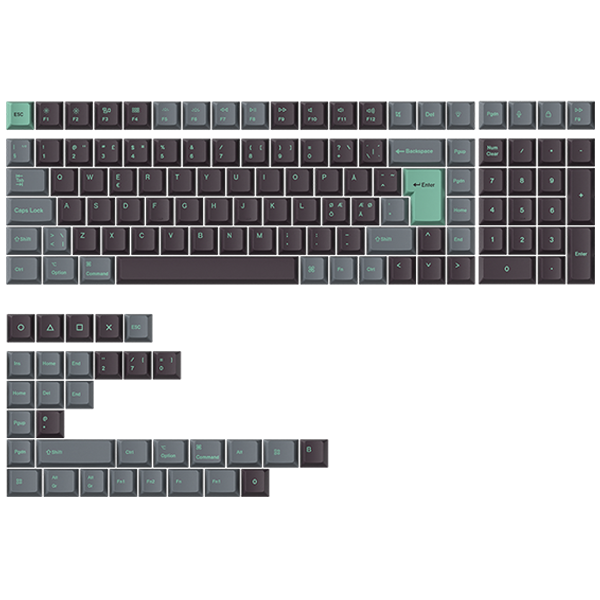
Customize your keyboard’s look and feel with styles, materials, and colors from our All Keycaps collection. Personalize your setup to fit your personal style and ergonomic needs.
4 - Optional Modifications
Mods are where you can fine-tune your keyboard to enhance its acoustics and aesthetics. These small tweaks can make a big difference in your overall experience.
- Add Foam: Place foam between the PCB and case to reduce noise and improve typing sound.
- Modify Stabilizers: Lubing or clipping stabilizers minimizes rattle and improves the feel of larger keys.
- Install O-Rings: Add O-rings under keycaps to soften the impact when bottoming out, making typing quieter.
- Advanced Mods: Upgrade stabilizers, add RGB lighting, or swap other components to customize further.
5 - Optional Programming Macros and Customizing Key Functions
Beyond the physical build, programming your keyboard adds an extra layer of personalization. This step ensures the keyboard works exactly the way you want.
- Set Up Macros: Use Keychron launcher to assign repetitive actions to a single key, streamlining tasks like opening apps or taking screenshots.
- Remap Keys: Customize key functions to suit your workflow, such as making "Caps Lock" function as "Ctrl."
- Use Layers: Create multiple key layers for different purposes, like gaming, work, or media control, giving each key multiple uses.
6 - Testing and Troubleshooting
Testing ensures your keyboard is fully functional before you start using it. If something isn’t working, this step helps you quickly identify and resolve the issue.
- Connect and Test: Plug in your keyboard and use an online tester to ensure all keys register properly.
- Troubleshooting Checklist:
- Switches: Ensure all switches are fully seated.
- Keycaps: Verify that keycaps are properly pressed onto switch stems.
- Connections: Check all cables and connectors for secure attachment.
- Software Adjustments: If issues persist, open Keychron launcher to check configurations, reset settings, or remap keys as needed.
By following these steps, you’ll create a custom Keychron keyboard that’s truly your own, tailored for comfort, performance, and style.
Keychron Custom Keyboards: Which One’s For You?
When selecting a Keychron keyboard, consider what’s most important to you: advanced customization, wireless convenience, or affordability.
Each Keychron series is designed with specific users in mind, offering different features to meet varying needs. Here’s a detailed look at what each series has to offer, helping you decide on the perfect keyboard for your setup.
Keychron Q Max Series: Premium Customization

For the keyboard enthusiast who demands the best, the Q Max Series offers top-tier customization in a robust package.
- Robust Build: Full-metal bodies ensure durability and a substantial, quality feel.
- Extensive Customization: Customize key switches, keycaps, and layouts to suit your specific preferences and tailor your typing experience down to the last detail.
- Programming Capabilities: Offers full support for QMK and VIA, enabling complex key and macro programming—ideal for optimizing your workflow extensively.
- Best For: Professionals and serious users who want the best materials and customization options.
Keychron K Max Series: Wireless and Versatile

If you value flexibility and hate being tied down by wires, the K Max Series provides the ultimate wireless experience without compromising on quality.
- Multiple Wireless Capabilities: Supports both Bluetooth and 2.4 GHz wireless connections, offering complete freedom from cables and maintaining a clean, uncluttered workspace.
- Device Versatility: Features seamless multi-device pairing, allowing you to effortlessly switch between your computer, tablet, and smartphone while staying connected without the need to re-pair.
- Durable Construction: Maintains high build quality even with wireless functionality.
- Best For: Those who need the convenience of wireless without losing out on performance.
Keychron V Max Series: Affordable Custom Options

On a budget but still craving the custom feel? The V Max Series strikes a perfect balance, offering essential customization features at a wallet-friendly price point.
- Cost-Effective Customization: Offers key switch and keycap customization options to personalize your typing experience, providing solid performance with more affordable materials.
- Accessibility: An excellent starting point for newcomers to mechanical keyboards, ideal for students or anyone needing a reliable yet customizable keyboard without the hefty price tag.
- Best For: Budget-conscious users who don’t want to sacrifice customizability for affordability.
Each series from Keychron caters to different aspects of what makes a great keyboard, ensuring that whether you're a seasoned pro, a frequent traveler, or a beginner, there’s a model just right for your needs. Choose based on what will enhance your typing experience the most.
Ready to design your perfect typing tool? Explore our Custom Keyboards collection for a range of options tailored to gamers, writers, and coders alike.
Conclusion
Creating a custom Keychron keyboard is an engaging journey towards crafting a unique typing environment tailored to your individual preferences. From selecting the perfect switches and keycaps to incorporating optional modifications like lubing or adding foam, each decision enriches your overall experience. The flexibility to pick and choose steps—like skipping mods or macros—means you can build at your own pace and skill level.
For your next steps, consider experimenting with different switch types to further fine-tune your keyboard’s feel and sound. Keychron offers a wide range of switches to explore, each designed to enhance your typing or gaming experience. If you’re curious about which switch is right for you, check out our guide to the best keyboard switches to dive deeper into this essential customization option.
Start building today and take the first step toward crafting a keyboard that’s truly one of a kind!
Frequently Asked Questions on Building Custom Keyboards
Where to Get the Best Custom Keyboards?
You can get some of the best custom keyboards from Keychron, which offers a range of kits and components ideal for building your own. These kits let you customize everything from switches to keycaps, making it easy to tailor your setup to your exact preferences and style.
Can You Build Your Own Keyboard?
Yes, building your own keyboard is definitely achievable. Starting with a barebone kit from Keychron, you can select compatible switches and keycaps that fit your typing style and aesthetic preferences. This option provides a hands-on approach to creating a personalized typing experience.
Is it Better to Build or Buy a Mechanical Keyboard?
This decision hinges on your specific needs. Building a keyboard offers unique customization and a sense of personal satisfaction, while buying a pre-built model is more convenient and often quicker. Keychron's pre-built keyboards are renowned for their quality and thoughtful design, making them a great choice for those who prefer immediate usability.
How to Lube Keyboard Switches?
To lube keyboard switches, first disassemble them, then apply a thin layer of lubricant to the springs and stems. Lubricating your switches reduces friction and noise, enhancing the overall sound and feel of your keyboard.
What are the Requirements for a Keyboard PCB?
For a custom build, ensure the PCB is compatible with your case and the type of switches you plan to use. Keychron models often support both 3-pin and 5-pin MX switches and feature hot-swappability, allowing easy switch changes without soldering.
Is Building a Custom Keyboard Expensive?
The cost can vary significantly. Building a keyboard can be more expensive than buying pre-built, depending on your choice of components like high-quality switches, keycaps, and cases. Keychron offers a range of options that cater to various budgets, balancing customization with cost.
What is Considered a Custom Keyboard?
A custom keyboard is built from individual parts selected according to your preferences, including the case, PCB, switches, and keycaps. It reflects your personal style and functional needs, often featuring unique aesthetics and optimized typing experiences.
.


